Let’s face it. Who doesn’t love a good before and after photo? As business owners, artists, parents, and livers of life, it can be hard to remember to snap a photo before starting a new project. In our business, Brooks is the “on-site” person. He is actually on the job every day and the person who should be photographing along the way. But somehow it seems to take lots of reminders and lots of direction to get a decent and useable photo. So, here are a few tips and tricks that I have come up with to make sure we get photos from EVERY project to use for our website, blog, and social media sites.
How to Capture Great Before and After Photos of your projects:
- Ask the homeowner or designer to email photos before you submit an estimate. This is my top-secret for making sure I have at least one before photo. It serves a dual purpose as both a before photo and a look at the space before you arrive on site to scope out the situation.
- If it is a house that has recently sold you can usually find great photos on the realtor’s website. Shoot them an email and ask for permission to use them. These are usually great quality, wide-angle, high-resolution shots.
- Pull out your smart phone camera. Even the most inexperienced photographer can take great photos with the use of a couple of apps. I use PRO HDR to adjust the lighting in my still photos. Hold the camera super still and it takes awesome photos. If you have a photo that needs some adjustments you can try SNAPSEED. You just upload your photo and run it through an auto adjust or you can selectively adjust the image.
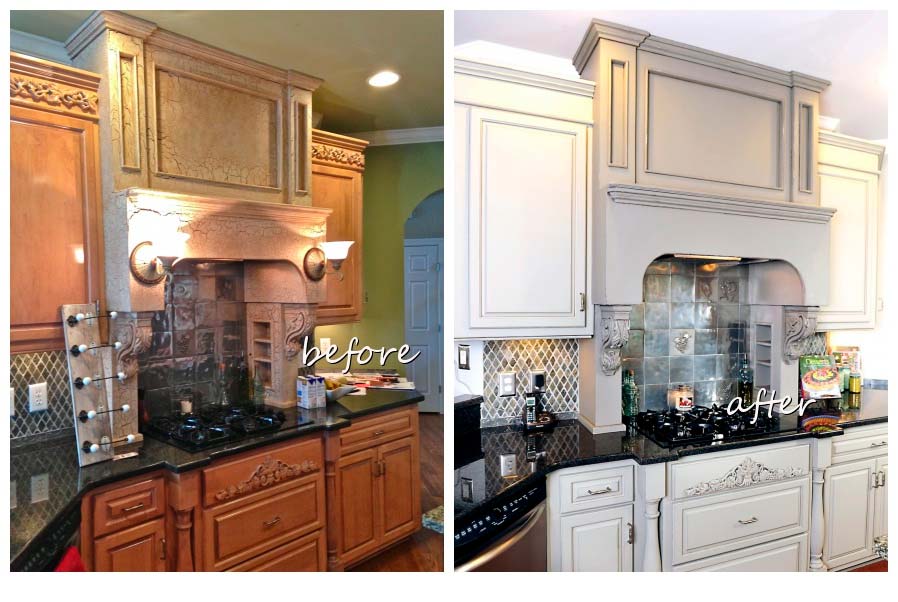
- Give your image some perspective. If photographing a wall finish, show a little ceiling and a little floor so that you can see how that finish works in the room.
- Style the photo! Remove and cords, mail, dishes, towels, debris, etc. I will sometimes bring fresh flowers, greenery or fruit. Thumb through some of your favorite design magazines and pay attention to how they style the rooms they feature. Make notes.

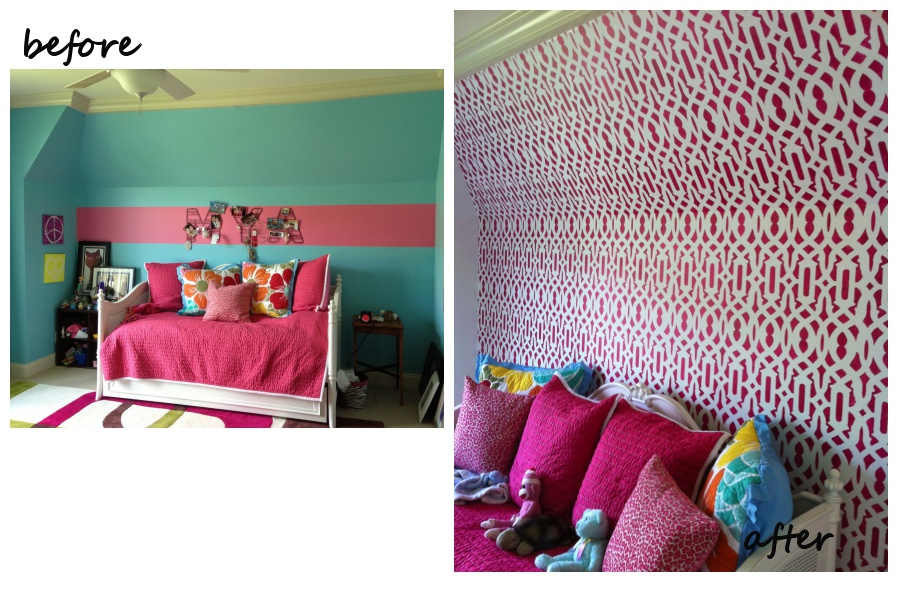
trellis stencil before and after by Bella Tucker Decorative Finishes - Use Photo Frames and “before” and “after” wording on your photos. Again, I use several apps for these. My favorites are INSTAFRAME, WORD SWAG, and RHONNA DESIGNS.

- Have Professional After photos taken. If you budget into every job to spend $100 or so to have professional photos taken it will elevate your work to a new level of professionalism. It will make your Before and After Photos that much more dramatic. It is amazing how the same finish in the same room will look completely different when it has professional lighting and photography. It’s the difference between a snapshot and a magazine feature.
Guess what our second most visited page on our website is? It’s our Before and After photo gallery. Potential clients want to see your work. They want to envision their own transformation. They want images they can show their friends. Guess what else? A photo shared on Facebook performs way better than a status update and it is more likely to be shared putting your business in front of potential customers.
If you’d like to talk to us about a decorative painting project we would love to talk to you. We’d love to add your project to our Before and After gallery. Please fill our the form below.
Contact Form
We would love to hear from you! Please fill out this form and we will get in touch with you shortly.

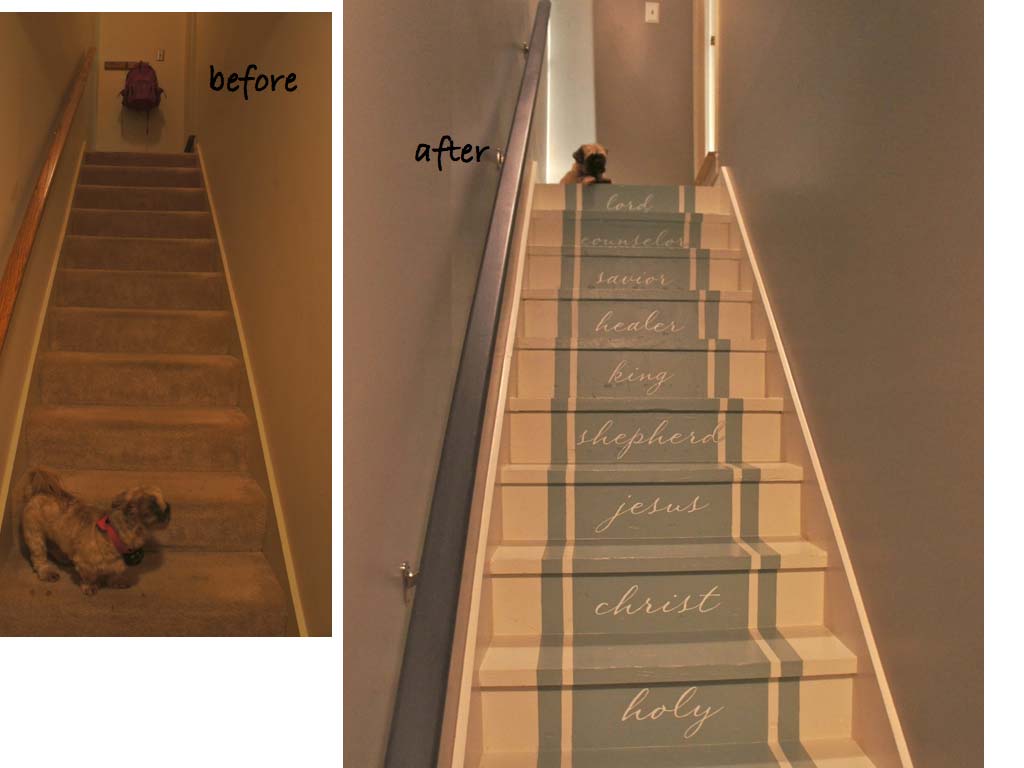
I love the doggy on the steps picture. Miss Darcy is a camera hoggy.
Oh, thanks!!! xoxoxo